Choosing Servo Gears: Materials, Matching Models and Replacement Tips
Plastic and metal gears each have trade-offs, and mismatched models or versions are the most common pitfall when replacing gears. Drawing on SparkFun's tutorial and TowerPro's official specs, here's how to choose, how to replace, and when it isn't worth it.
Contents
Stripped servo gears are a very common fault: stalling, drops and sudden load spikes can all damage the gears. SparkFun's servo tutorial also points out that driving a servo past its mechanical limits can break its gears.
Before replacing gears, think through three things: which material, whether the model and version match, and whether it's worth repairing at all.
Plastic or metal
SparkFun's summary is blunt: cheap servos usually use injection-molded plastic gears, pricier ones use metal; plastic gears are more likely to strip when the motor stalls or is overloaded — you get what you pay for.
| Plastic gears | Metal gears | |
|---|---|---|
| Price | Cheap | More expensive |
| Stalls and overloads | Strip more easily | More tolerant |
| Weight | Light | Heavier |
| Best for | Light loads, lightweight mechanisms, practice projects | Robotic arms, leg joints and other high-load, shock-prone spots |
“Metal gears” isn't a single material either; different makers and versions may use different alloys. Take the MG996R: the TowerPro website says they have upgraded this servo's gear train and output shaft to 6061-T6 aluminum alloy, which they describe as stronger and lighter than copper. Many servos are sold under the same name, so go by the specific specs the seller provides.
If gears keep breaking, don't rush to a harder material. First check whether the load is too high, whether the travel exceeds the mechanical limits, and whether something in the structure is binding. If the cause isn't fixed, harder gears may just shift the shock onto the motor, the output shaft or the frame.
The model and version must match
Under the same model name, versions from different makers or batches can differ in tooth count, gear size and shaft diameter. Before buying gears:
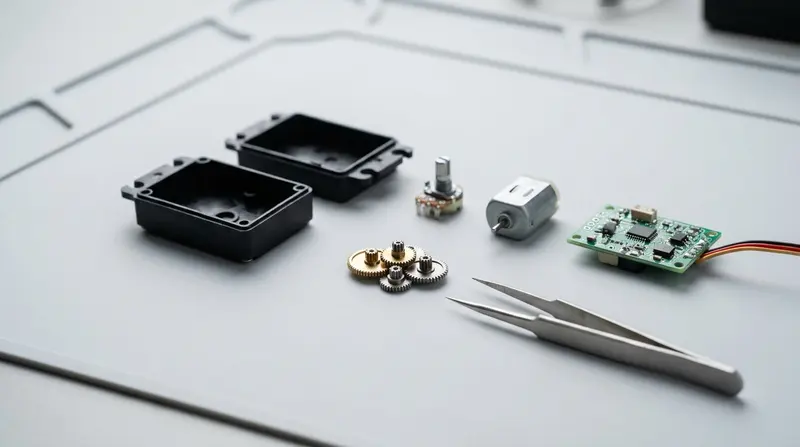
- Open the old servo, count the teeth on every stage, measure the shaft diameters and take photos
- Confirm the exact compatible model and version with the seller, ideally by comparing photos
- Check the spline count on the output shaft so your original servo horn still fits. TowerPro lists the MG996R as compatible with Futaba-style horns, which is a useful reference
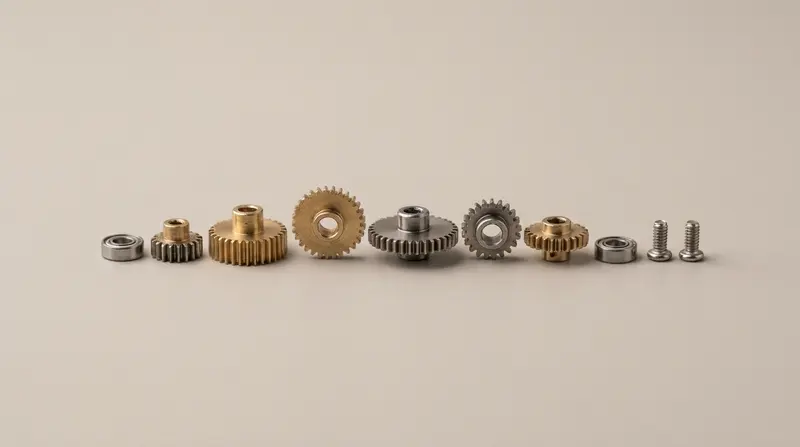
Replace the whole set, not just one gear
Gears mesh stage by stage. When one gear breaks, the gears it meshes with have usually taken the same shock. Replace only the broken one and the old and new gears may not mesh well and can fail again soon. That's why a full set replacement is generally recommended.
Tips for replacing gears
- Power off before opening it. A powered servo actively holds its position, and working on it live can easily break gears.
- Take photos as you go, noting each gear's position and orientation, and reassemble exactly as it was.
- Lubricate moderately. Use a grease suited to the gear material; a thin layer is enough. Don't use volatile rust-removal sprays instead of grease.
- Mind how the output shaft lines up with the potentiometer. In many servos the output shaft drives the potentiometer directly; if it goes back in the wrong position, the center point will be off and you'll need to recalibrate.
- Don't overtighten the screws. Most servo cases are plastic and crack easily.
Checking after reassembly
- With no load attached, power it up and sweep a small range around the center. Listen for smooth operation
- Limit the travel in code — don't jump straight to the maximum angle. SparkFun notes that the Arduino Servo library's
attach()lets you set minimum and maximum positions so you never drive past the limits - Then add load gradually and watch for heat or unusual noise
If it still jitters after reassembly, work through the servo jitter troubleshooting guide, starting with the power supply.
When gears aren't worth replacing
- With cheap servos, a gear kit plus your time can cost more than a new servo
- The motor or circuit board is also damaged — for example, a burning smell, or no movement at all when powered
- The case is cracked or the output shaft is bent
In these cases, replacing the servo is less hassle.
References
- SparkFun: Hobby Servo Tutorial
- TowerPro: MG996R product page
This article is compiled from the public sources above and rewritten in my own words, not translated word for word; the replacement steps are general hands-on practice. Sources accessed in October 2026.
Parts & tools coming soon
Servo gears, robot vacuum consumables and repair tools are not on sale yet; you can check the reference prices.